


The birth of vapecasa.io
“Ideas are shit, execution is everything.”
Like most projects, this one started with a simple idea during a weekend in San Francisco. I wanted to learn how to go from idea to conception as quickly as possible. At the time, I was interested in the vaping space because my mother had used vaping to quit smoking. When I looked around at the existing content, I found a dearth of quality material. So I decided to create a content site.
Here’s how I did it in a single day.
The Steps
1. Pick a name
Paul Graham has written about how founders spend way too long picking names. Give yourself 15 minutes max to brainstorm and just pick something. You can always change it later.
2. Register a domain
I recommend Google Domains. Simple, clean, and no upselling.
3. Get email
If you want to look professional, get a custom email address on your domain. Google Apps is the gold standard but costs money. Zoho Mail is a solid free alternative.
Wordpress? Really, another Wordpress tutorial?
Quick aside on why WordPress: web design is commoditized. You don’t need to be a designer to have a professional looking site. Even the Buzzfeed look is commoditized at this point — there are themes that replicate it almost exactly.
One non-standard decision I made was to self-host on Amazon EC2 instead of using managed WordPress hosting. This gives you full control over your server and is free for the first year under AWS’s free tier.
On we go
4. Create an Amazon AWS account
Sign up at aws.amazon.com. You get 12 months of free tier access.
5. Follow the AWS LAMP stack tutorial
Set up Linux, Apache, MySQL, and PHP on your EC2 instance by following the official guide:
http://docs.aws.amazon.com/AWSEC2/latest/UserGuide/install-LAMP.html
6. Follow the AWS WordPress tutorial
Once your LAMP stack is running, install WordPress:
http://docs.aws.amazon.com/AWSEC2/latest/UserGuide/hosting-wordpress.html
7. Point your DNS to EC2
Go back to Google Domains and point your domain’s DNS to your EC2 instance. I recommend assigning an Elastic IP to your instance first so the IP address doesn’t change if you stop and restart it.
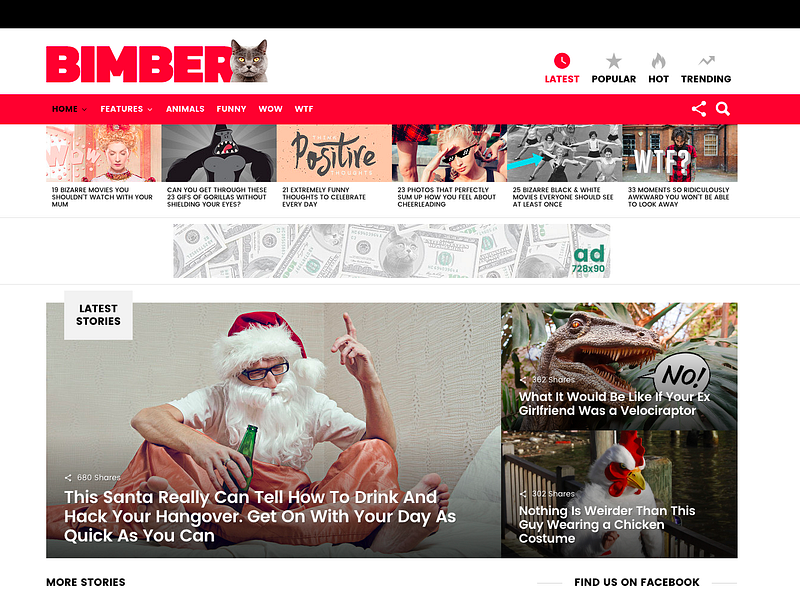
8. Buy the Bimber theme
Bimber is the de facto standard Buzzfeed clone theme for WordPress. It handles the viral content layout, social sharing, and quiz functionality out of the box.
9. Change php.ini upload settings
The default PHP upload limit is 2MB, which is too small for most theme files. Bump it up to 20MB:
$ sudo vim /etc/php.iniFind the upload_max_filesize line and change it:
upload_max_filesize = 20M10. Install the Bimber theme
In WordPress Admin, go to Themes, click Add New, then Upload, and select the Bimber theme zip file you downloaded.
Celebrate
That’s it. You put something on the internet. It took a day, maybe less. The site looks professional, it’s on your own domain, and you have full control over the server.
Now for the hard part: creating content people actually want to consume.